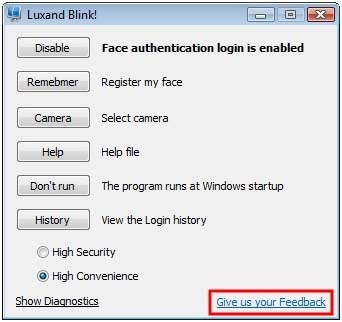
To open the Settings window, you can either double-click the Luxand Blink! icon in the system tray or right-click the tray icon and select Settings.
The Settings window allows you to do the following operations:
1. You can enable or disable face login to Windows. Click Enable or Disable respectively.
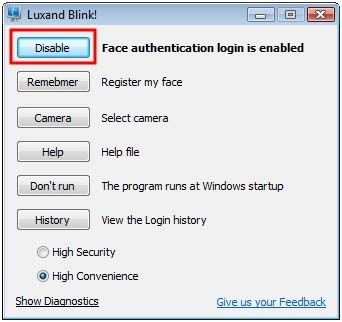
Note: You can also enable or disable face login to Windows by right-clicking the Luxand Blink! icon in the system tray and selecting the appropriate option.
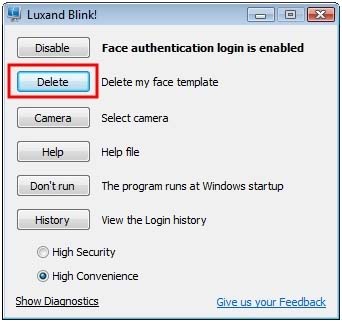
2. You can delete your biometric data. Click Delete.
Then, click Yes when prompted to continue.
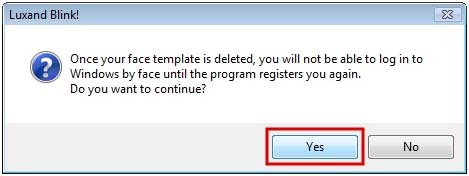
Once your data is deleted, face login is impossible. To enable face login again, you must register your face again.
3. To register your face, click Remember.
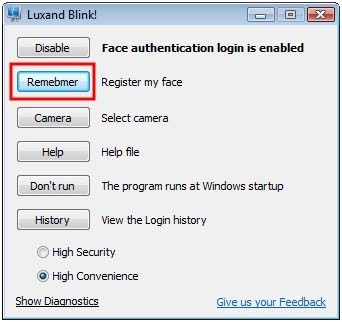
This opens the Configuration wizard. For more information about registering your face, see Configuration.
4. You can also select the camera to use for face authentication. Click Camera.
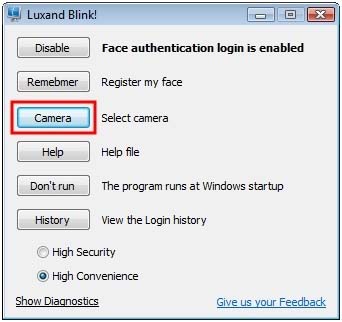
Select camera, and click Apply.
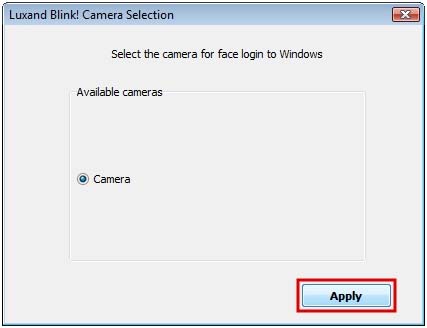
If you have a new webcam, we recommend that you to register the face again.
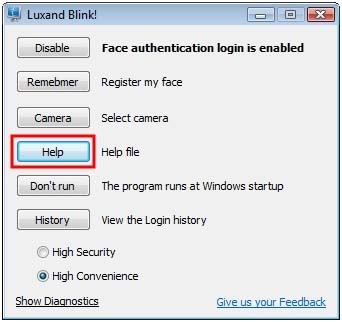
5. Click Help to read the Help file.
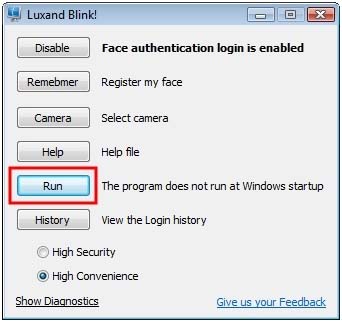
6. If you do not want the program to run at Windows startup, click Don't run. Note, however, that face login remains enabled.
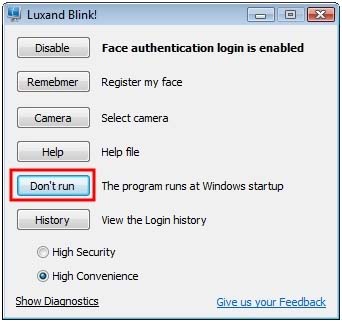
To run Luxand Blink! at Windows startup, click Run.
7. Click History to view your computer’s login history.
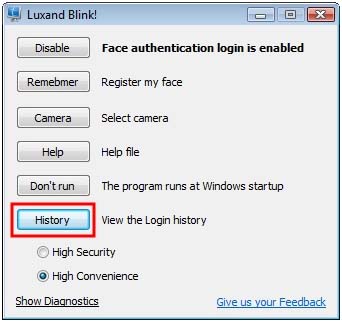
By using the Login history, you can view and save photos of people who have attempted to log in to your system. You can also view and save your own login photos.

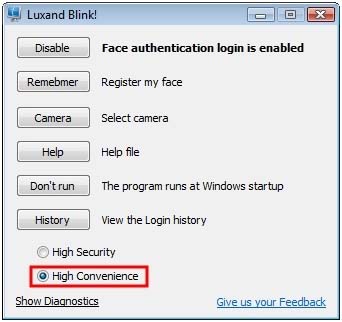
8. In High Convenience mode Blink! learns your facial appearance each time you log in. However, this could compromise security if someone else logs in with your password. In High Security mode, training is disabled.
9. Show Diagnostics helps troubleshoot errors. For more information, see Report a bug.
10. If you have questions or suggestions about the program, click Give us your feedback. This opens your default mail client with a preset message to us.
